
close
Choose Your Site
Global
Social Media


Views: 0 Author: Site Editor Publish Time: 2026-05-12 Origin: Site


Upgrading or replacing your kitchen range represents a high-stakes, high-visibility investment in your home. This appliance functions as the undeniable heart of your culinary space. It heavily influences both daily meal preparation efficiency and overall room design. Selecting the perfect unit requires careful deliberation. The ultimate goal involves balancing core cooking performance, seamless aesthetic fit, and strict infrastructure realities. You want top-tier functionality without overpaying for unused marketing features. Purchasing an incompatible model inevitably leads to compromised utility, awkward fitment, and frustrating installation delays. This comprehensive guide provides a logical evaluation framework to help you confidently shortlist models. We will systematically walk through evaluating hard performance metrics, strict dimensional requirements, and long-term hardware reliability. You will learn to navigate the confusing appliance market using expert precision. By the end, you will leave equipped to make a smart, enduring choice for your household.
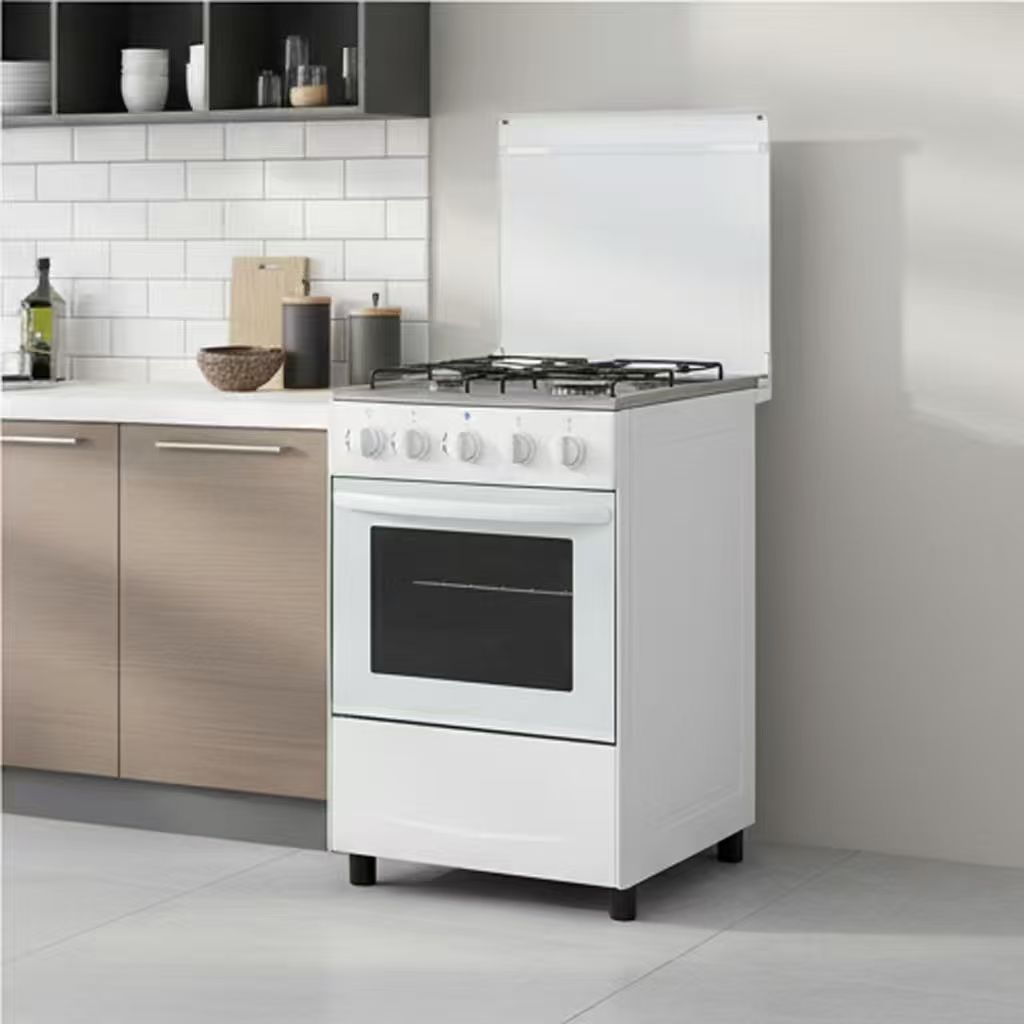
Freestanding ranges feature finished sides and attached backguards, offering the most versatile and cost-effective installation compared to slide-in models.
Your kitchen’s existing infrastructure (gas lines vs. 240V electrical) is the primary constraint that dictates fuel type and budget.
Standardizing your measurements—focusing on cutout width, depth, and opening clearances—prevents costly installation failures.
Evaluating a freestanding range manufacturer on parts availability and warranty support is as critical as evaluating BTU output or oven capacity.
Structural definitions matter immensely when navigating appliance showrooms. You must clarify the physical differences between freestanding and slide-in configurations. Freestanding ranges feature completely finished side panels. They typically include a rear control panel or an attached backguard projecting above the cooking surface. Slide-in models feature unfinished sides and place their main controls strictly upfront. They are engineered to slightly overlap your countertop for a customized, built-in appearance.
Freestanding models generally offer a much more favorable cost-to-value ratio. They provide a substantially lower entry price point across all major appliance brands. Buyers gain access to a wider variety of budget-friendly configurations. Placement flexibility stands out as a distinct operational advantage. Freestanding ranges can comfortably sit at the very end of a cabinet run. They can even stand entirely alone in an open kitchen layout. Slide-in models strictly require cabinetry on both sides to hide their unfinished exterior flanks.
Aesthetic considerations often drive final purchasing decisions. Homeowners frequently worry about ugly countertop gaps and complex backsplash integration. Freestanding backguards directly cover the wall immediately behind the cooktop surface. This built-in protection eliminates the absolute need for expensive tilework extending down below counter height. Furthermore, freestanding units install easily. You simply slide the appliance into the empty cabinet space and plug it in. Slide-in models often demand precise countertop modifications to achieve their signature overlapping look.
Best Practice: Always inspect the side panel finish on showroom floors if you plan to place the range at a cabinet run end.
Common Mistake: Assuming a slide-in range easily replaces a freestanding one without requiring expensive countertop modifications.
When selecting a Freestanding Range, your existing home infrastructure strictly dictates your viable choices. Selecting fuel types requires careful assessment of current utility lines.
Electric ranges divide into two main technological categories: radiant and induction. Radiant electric models offer a notably lower upfront cost. They provide highly consistent baking temperatures inside the oven cavity. However, they suffer from significantly slower cooktop temperature response times. Induction cooking technology delivers superior boil speeds and unmatched safety. The glass surface remains cool to the touch. This option requires compatible magnetic cookware, such as cast iron or magnetic stainless steel. It also mandates a dedicated 240V/40-50 amp circuit.
Gas ranges remain highly preferred among avid home chefs and professional cooks. They offer immediate visual flame control and excel at high-heat wok cooking or meat searing. Risk considerations are absolutely crucial here. You must accurately assess your existing gas line placement before committing. You also need adequate overhead ventilation. Your exhaust hood must meet specific CFM (Cubic Feet per Minute) requirements to handle carbon monoxide and grease emissions safely. Note that most gas ranges accommodate natural gas by default. You will need a specific conversion kit if your home relies on liquid propane.
Dual-fuel solutions pair a high-performance gas cooktop with an electric oven cavity. This combination delivers precise, dry baking alongside highly responsive surface burners. Frame this as a premium choice requiring substantial infrastructure. It demands both an active gas hookup and a heavy-duty 240V electrical line. Only recommend this configuration if your daily cooking habits justify the significant utility upgrades required.
Fuel Configuration | Core Benefit | Infrastructure Requirement | Ideal User Profile |
|---|---|---|---|
Radiant Electric | Consistent oven baking, budget-friendly | Standard 240V circuit | Budget-conscious bakers |
Induction Electric | Rapid boiling, exceptional safety | 240V/40-50 amp circuit | Safety-focused families, speed cooks |
All-Gas | Visual flame control, high-heat searing | Gas line, proper CFM ventilation | Traditional home chefs |
Dual-Fuel | Best cooktop and oven combination | Both gas line and 240V circuit | Culinary enthusiasts baking frequently |
Understanding standard versus pro-style dimensions prevents major remodeling headaches. Detail the standard 30-inch width utilized for most residential replacements. Note when you should evaluate 36-inch or larger pro-style options. Larger sizes usually require custom cabinetry modifications and upgraded ventilation hoods.
The 3D measurement framework is vital for installation success. Follow these steps meticulously:
Width: Measure the actual cutout space between your countertops at multiple points. Cabinets are rarely perfectly plumb. Do not just measure the old appliance shell.
Depth: Account for front handle protrusion and full oven door clearance. Measure the door swing radius carefully. This precise measurement prevents traffic bottlenecks in busy kitchens. It ensures you can comfortably stand in front of the open oven.
Height: Ensure the cooktop surface aligns evenly alongside standard 36-inch countertops. Adjustable leveling legs located at the appliance base help achieve this flush finish.
Beware of hidden installation blockers lurking behind the unit. Warn your installers about the exact placement of gas stubs and electrical outlets. A wall plug located too high acts as a hard physical stop. It will prevent a new range from sitting flush against the back wall. Check the manufacturer's specification sheet for the exact location of the rear recess cavity. A gas shut-off valve located outside this designated zone prevents the stove from sliding back fully.
Common Mistake: Ignoring the anti-tip bracket installation. This essential metal piece prevents the unit from tipping forward when you open the oven door.
Best Practice: Always verify utility locations against the specification sheet before finalizing delivery dates.
Every Freestanding Range manufacturer uses aggressive marketing to highlight flashy capabilities. We must dissect what constitutes a genuinely functional burner setup. Evaluate cooktop output closely using BTUs for gas or wattage for electric. You need at least one high-output burner, typically rated around 15,000 to 18,000 BTUs. This power boils water rapidly and sears steaks perfectly. Conversely, you require one dedicated low-simmer burner, ideally rated around 5,000 BTUs. This burner safely melts chocolate or simmers delicate sauces without burning them. Continuous cast-iron grates are another highly practical feature. They allow you to slide heavy stockpots across the surface smoothly.
Oven capacity and heating technologies dictate baking success. Provide strict baseline capacity expectations for your shortlisting process. Aim for 5.0 cubic feet or greater for typical family roasting needs. This size comfortably accommodates large holiday turkeys and multiple baking sheets simultaneously. Evaluate convection heating methods critically. True European Convection utilizes a dedicated third heating element positioned directly behind the fan. This design delivers far superior heat distribution compared to standard fan convection. Standard convection merely circulates ambient oven heat.
Apply a rigorous gimmick filter to all trending features. Skeptically evaluate built-in air fryers or WiFi smartphone connectivity. Advise buyers to prioritize core heating consistency and thick cavity insulation over software add-ons. Software updates stop eventually, but solid hardware engineering lasts decades. Focus on thick door insulation, heavy-duty knobs, and robust racking systems.
Brand reliability scoring offers the best defense against premature appliance failure. Look far beyond initial showroom aesthetics. Review objective, third-party repair rate data to gauge expected lifespan. Independent appliance service networks frequently publish reliability statistics based on real-world service calls. Review these reports closely before committing.
Service network reality defines the true burden of appliance ownership. Emphasize that choosing a localized or well-supported Freestanding Range manufacturer pays huge dividends later. A robust network ensures easy access to certified technicians in your specific zip code. It guarantees replacement parts like igniters, heating elements, and digital control boards remain available five to ten years post-purchase.
Define industry-standard warranty benchmarks clearly. Typical baseline coverage includes a one-year comprehensive warranty covering both parts and labor. Extended warranties require careful mathematical evaluation. They are usually justified only if they cover expensive electronic control boards and carry direct factory backing. Third-party warranty firms often complicate the repair claims process using excessive red tape. Always read the fine print to understand exactly what components the warranty excludes.
Best Practice: Call local appliance repair shops. Ask them which brands they stock parts for locally.
Common Mistake: Assuming a prestigious brand name automatically guarantees fast, competent local repair service in your specific town.
Follow a strict three-step shortlisting logic to streamline your appliance shopping experience. First, measure your existing spatial infrastructure and utility hookups meticulously. Next, select your ideal fuel type based entirely on those strict physical constraints. Finally, filter your potential models by core performance metrics rather than superficial marketing features.
Take immediate action today before visiting a showroom or browsing online catalogs. Measure your current cutout width, depth, and height carefully. Check your specific utility hookups behind the current stove. Standardizing your preparation guarantees a seamless installation process and long-term culinary satisfaction.
A: You can, but it is rarely recommended. The rear backguard blocks visual sightlines across the room. It also disrupts the flat, seamless aesthetic of a modern kitchen island. For island installations, slide-in or drop-in models perform much better. They keep the countertop profile completely flat and unobstructed.
A: The attached backguard protects the immediate wall directly behind the cooktop from minor splashes. However, installing a tiled backsplash above the range offers far better long-term moisture and grease protection. It also makes routine cleaning significantly easier and elevates the overall kitchen design.
A: Standard depth usually measures 25 to 27 inches excluding the front handles. When measuring for cabinet alignment, always account for door and handle protrusions. This ensures the protruding unit does not obstruct cabinet drawers or dangerously block busy kitchen traffic lanes.

